It may have taken a while for me to get through all our vacation photos, but the vacation itself sure flew by.
We might have been heading back east (and home) on our fourth day, but we still had a very full day planned.
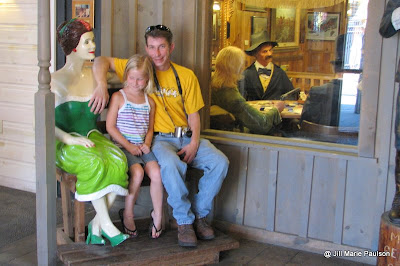
First up was a quick stop at Wall Drug...
"Mom! Look where Dad put his hand!"
Throughout the trip, we had been keep a list of all the state license plates and added quite a few just by walking up and down the street at Wall Drug.
We ended up with every state except Vermont and Hawaii. We also had about four Canadian provinces on our list!
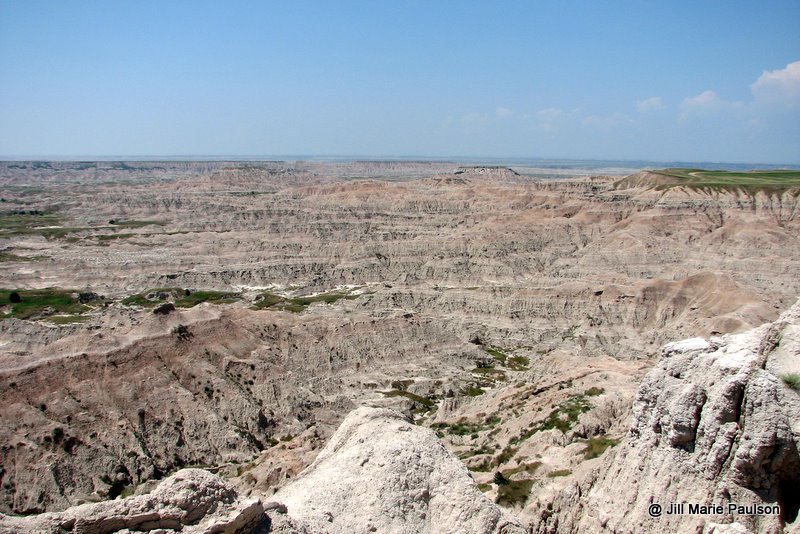
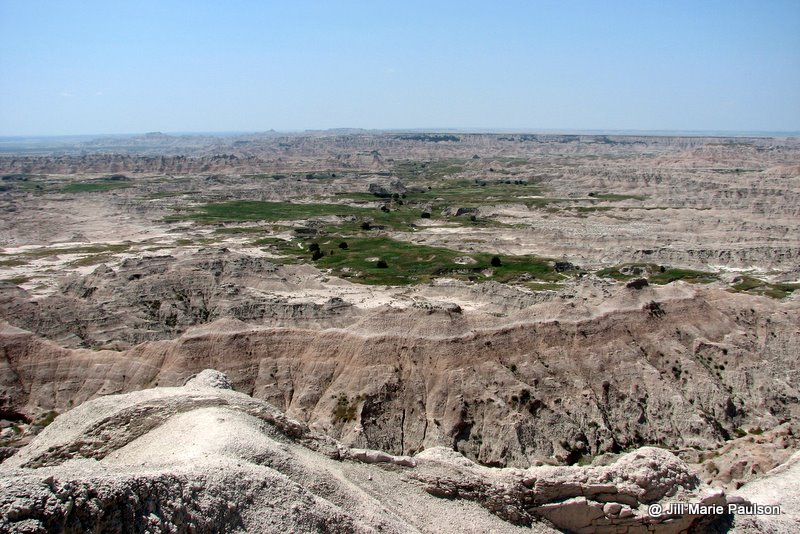
Then, it was off for a drive through the Badlands. Talk about some amazing views!
Kaitlin wanted a closer look.
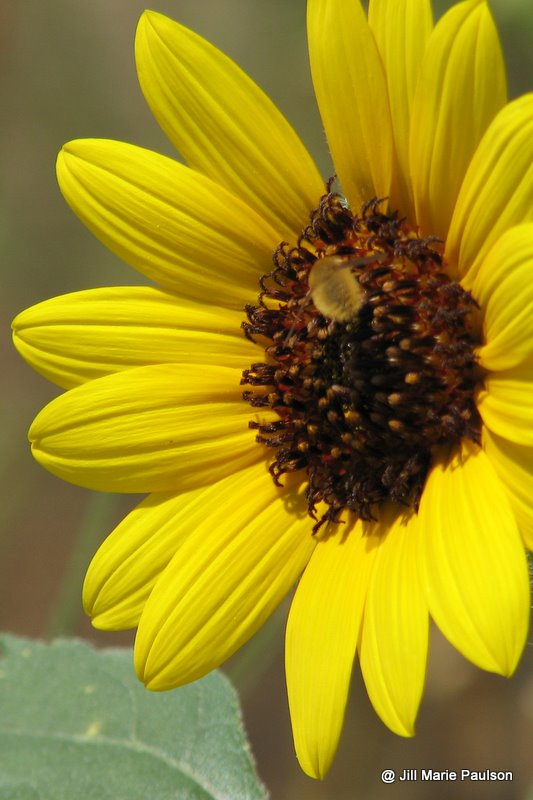
I found this lonely little flower in the Badlands...actually one of my favorite pics from the day.
Justin and Kaitlin had to get some climbing in, of course.
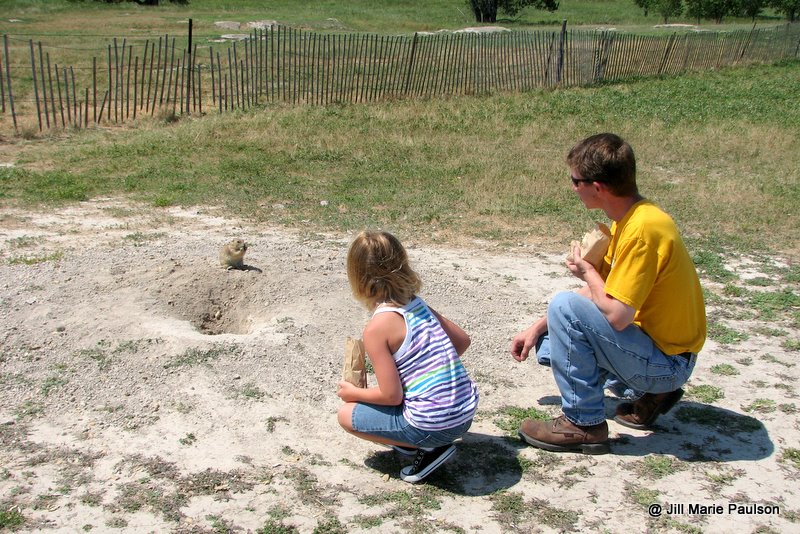
On the way out of the Badlands, we stopped at Prairie Dog Town.
This guy was hungry...
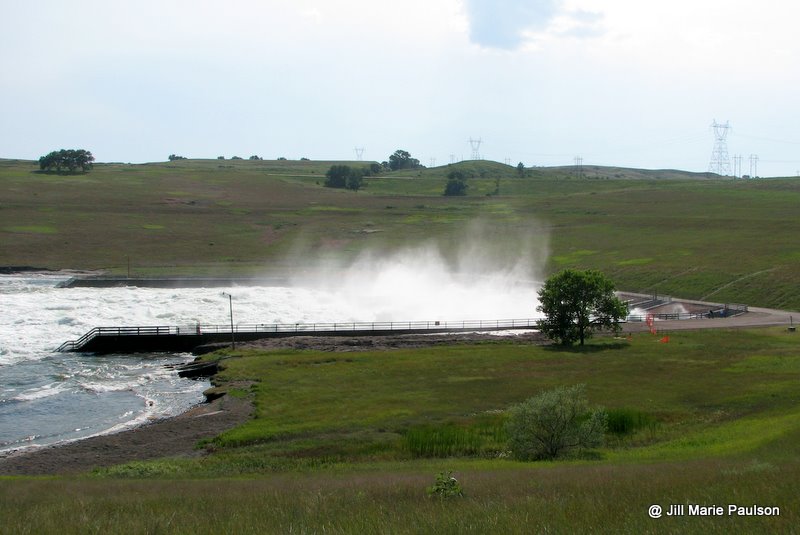
Then, since none of us had ever been to the Oahe Dam, we decided it was a must see stop, especially with the record water releases.
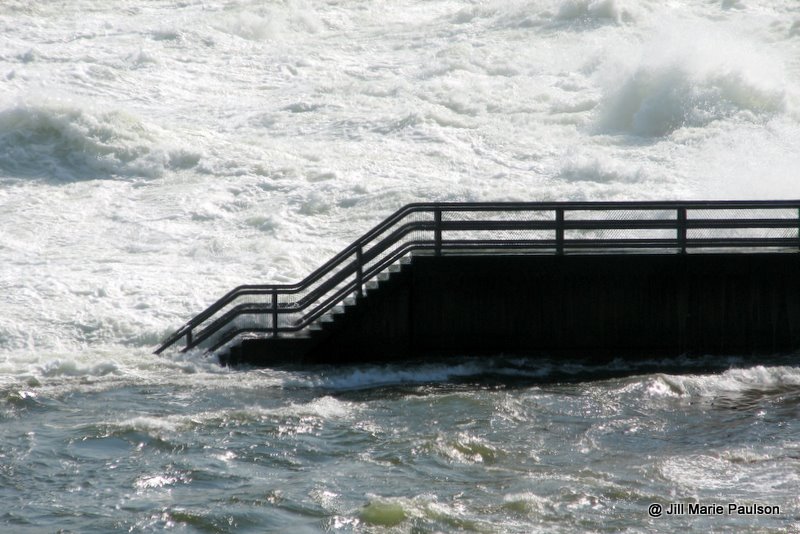
Obviously, the water was a lot higher than normal!
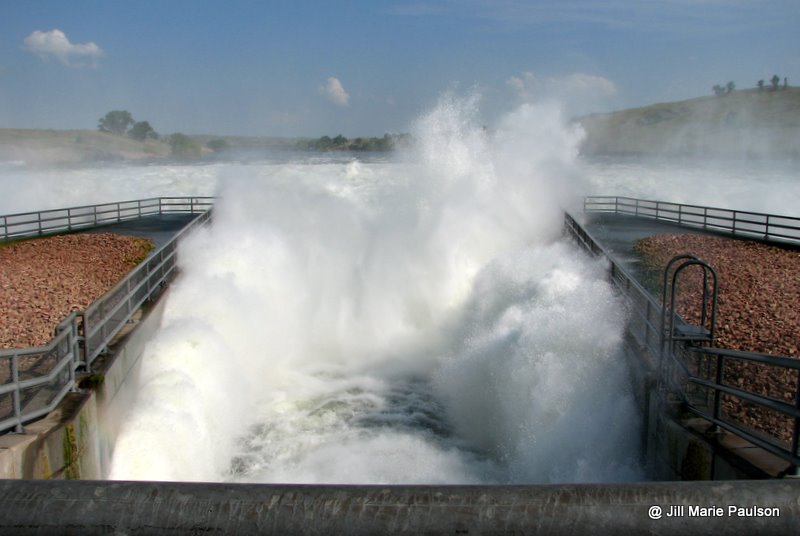
This water was rushing out of pipes that are 15 feet in diameter.
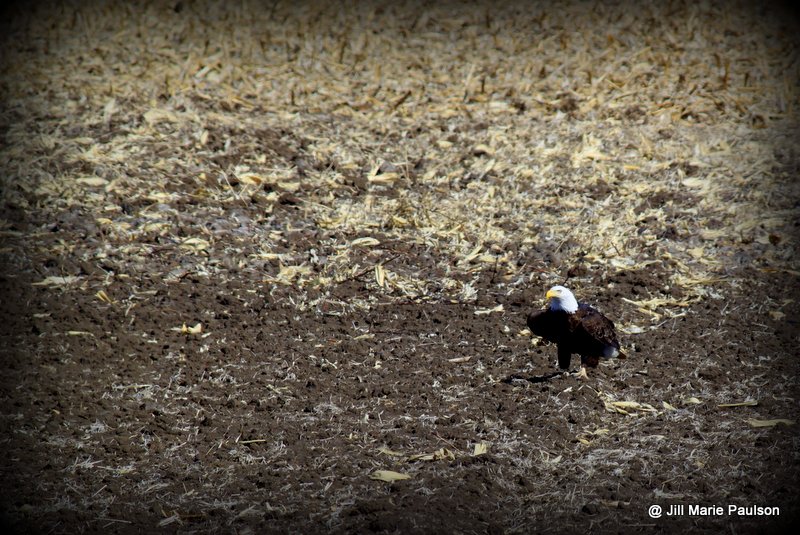
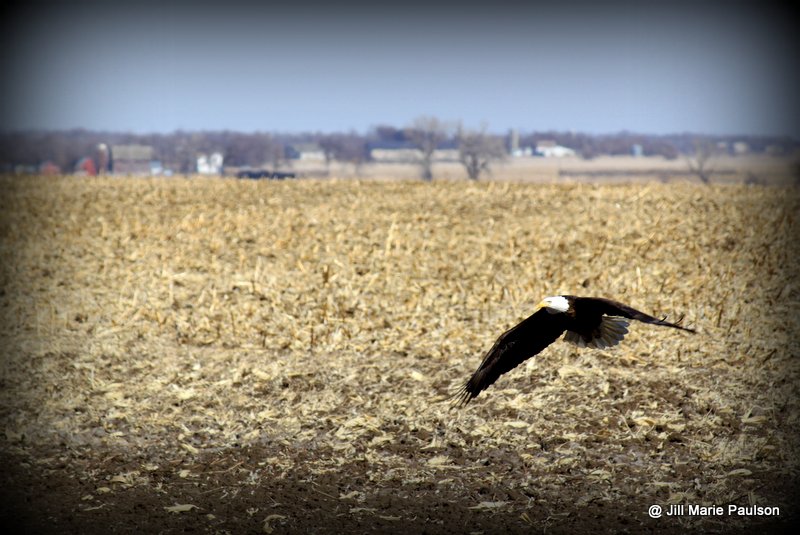
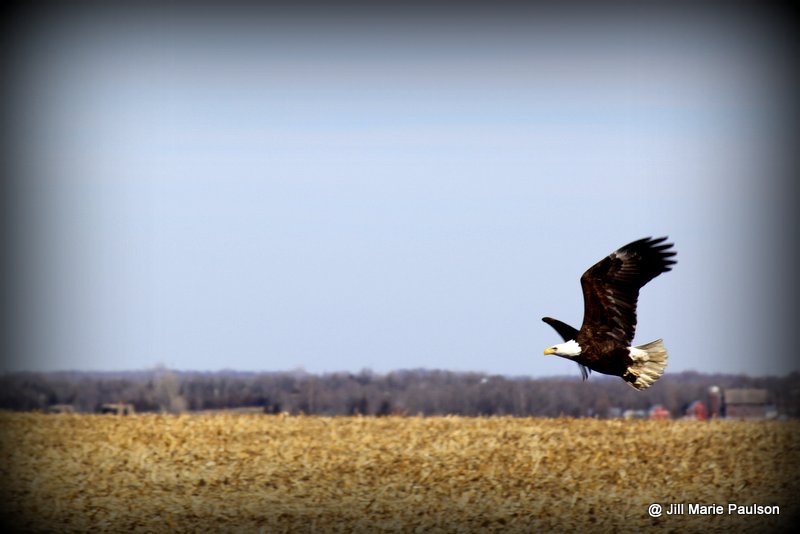
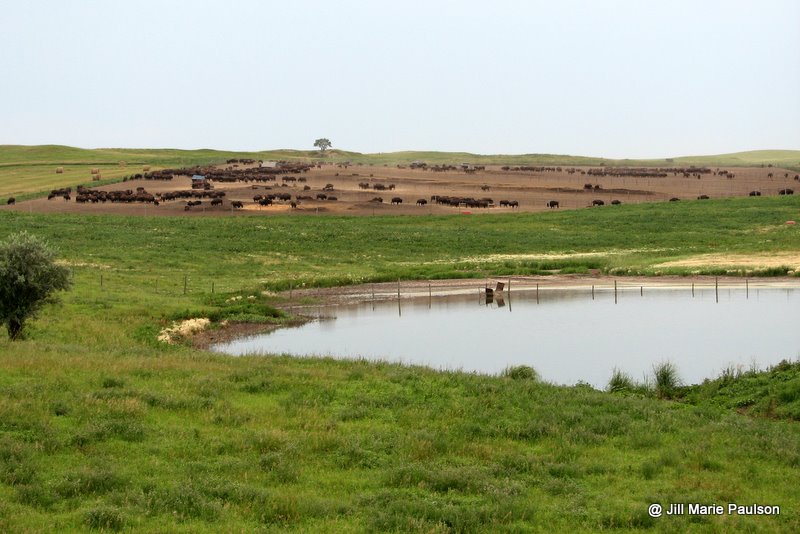
Then, we took Hwy 183 and came across this...
I guess we didn't have to drive all the way across the state to see buffalo.
Of course, it was totally worth it...can't wait for another family vaca!!


